If you wants to install VPN service on Hyper V then this guide will definitely help you. Steps are given below:
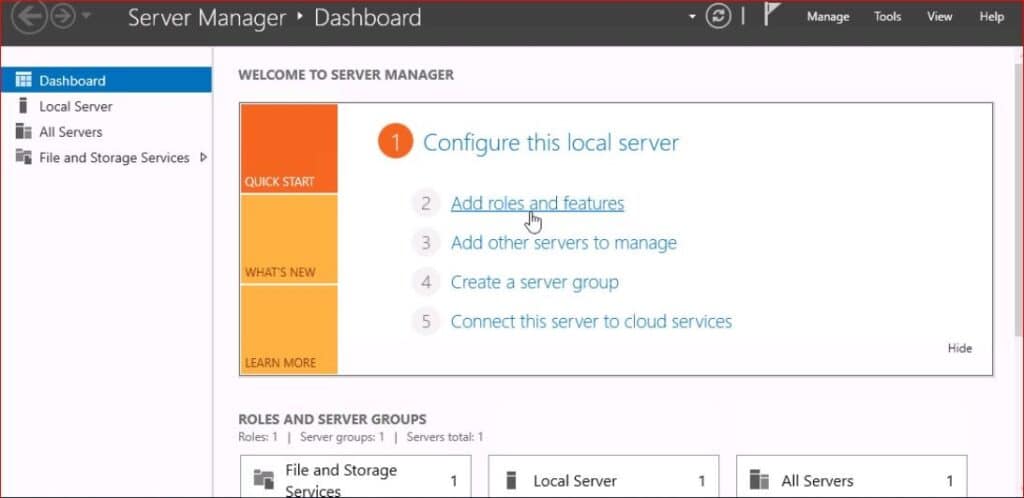
- Open Server Manager and click on Add roles and features.
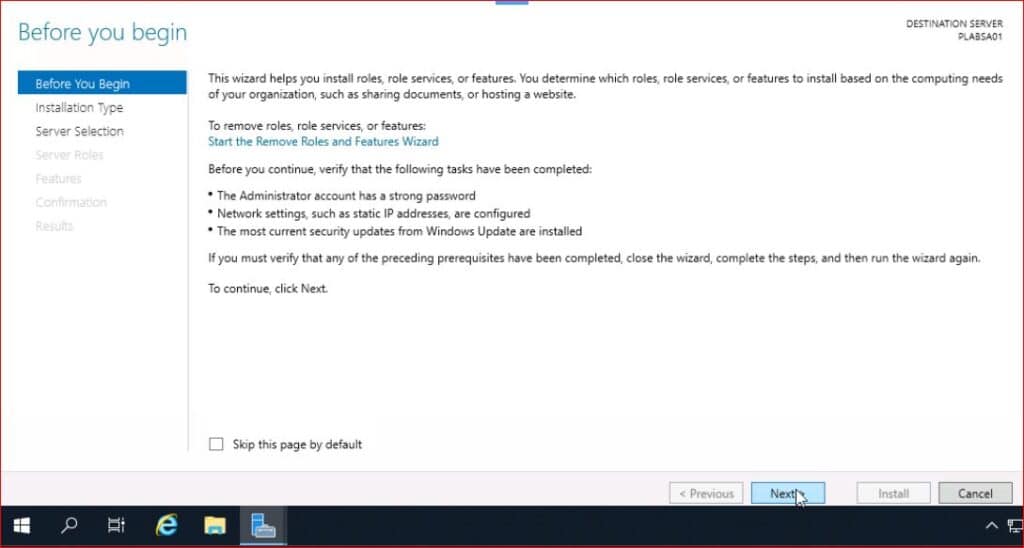
2. From the Before you begin page, click Next.
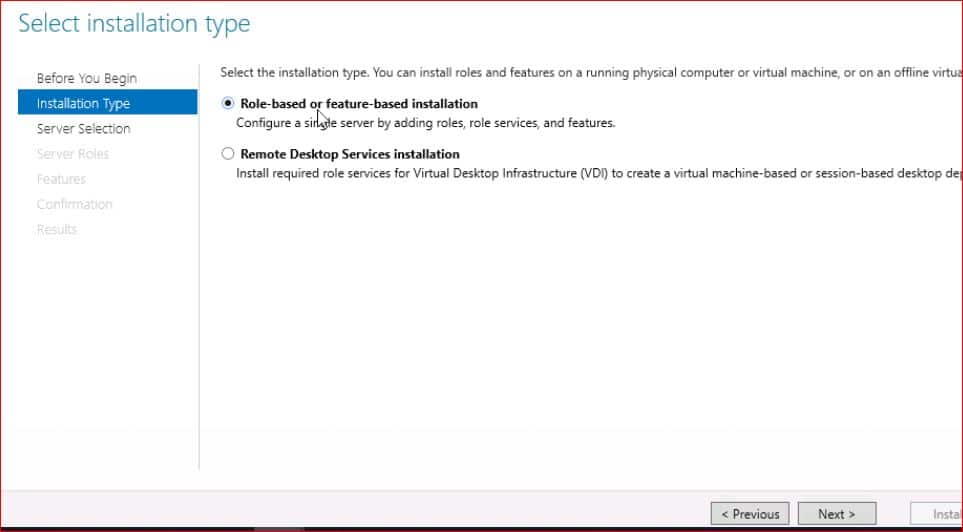
3. In the Select installation type page, click Next. Make sure option of Role Based or Feature based installation is selected (Only if you are not installing VPN on remote machine)
4. In “Select Destination Window” Select your server either from your share pool or virtual hard disk. In this example we are going to take the option first.

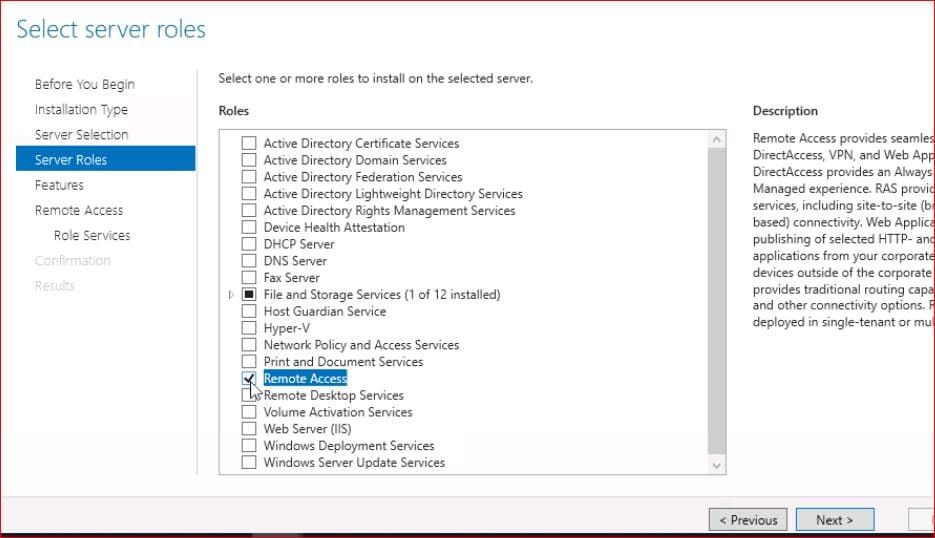
5. From Select server roles page, select Remote Access check box. Then click Next.
6. From Select features page, click Next. (Add features according to your business requirements if require)
7. In the Remote Access introduction page, click Next.
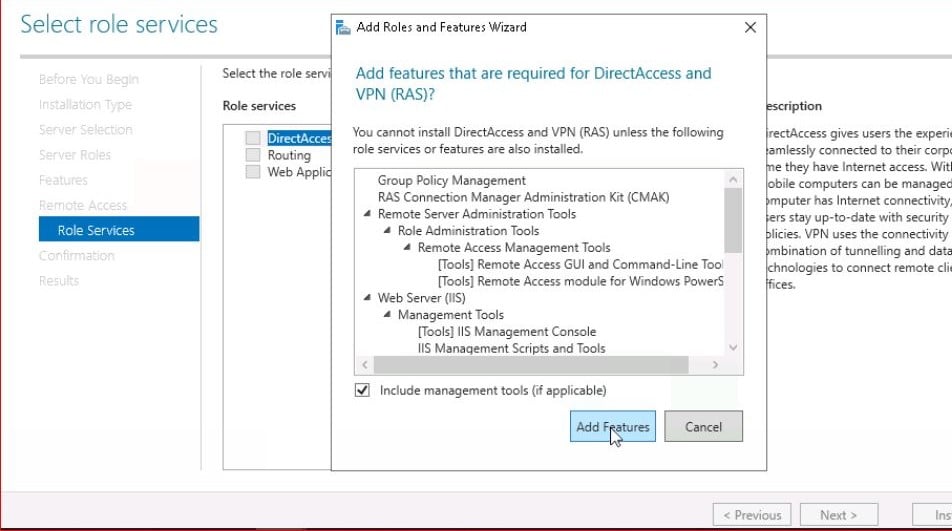
8. From Select role services, select DirectAccess and VPN (RAS) checkbox. Once you select the option. It will open a new windows Add roles and features wizard will open. In this windows click on Add Features and Click Next on Select Role Service page.
9. From Web Server Role (IIS) page, click Next. (Add roles according to your business requirements if require)
10. From the Select role services page, click Next. (Add roles according to your business requirements if require)
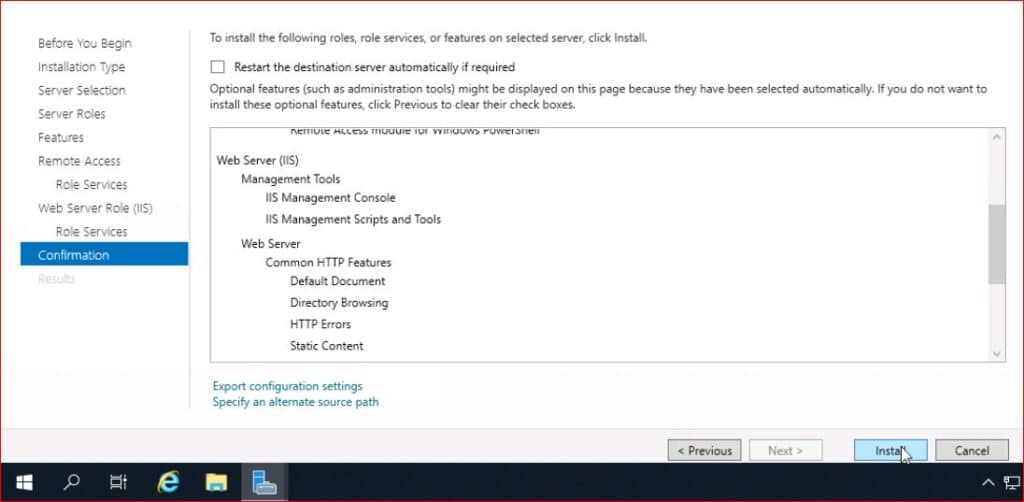
11. From the Confirm installation selections page, verify the roles, role services and features that have been selected in the above steps. If you want to install any specific role/features you can install by your business needs.
12. Click Install to install these roles and features.
13. Your VPN server is now installed on Hyper V.

